Table of Content
Noël Reid-Killings is a Professional Hair Stylist and the Owner of Noël New York Salon & Boutique. With over a decade of experience, Noël specializes in curating and customizing hair solutions for all hair types and textures. She has worked with countless A-list celebrities including Alicia Keys, Ciara, Yara Shahidi, and Simone Missick.

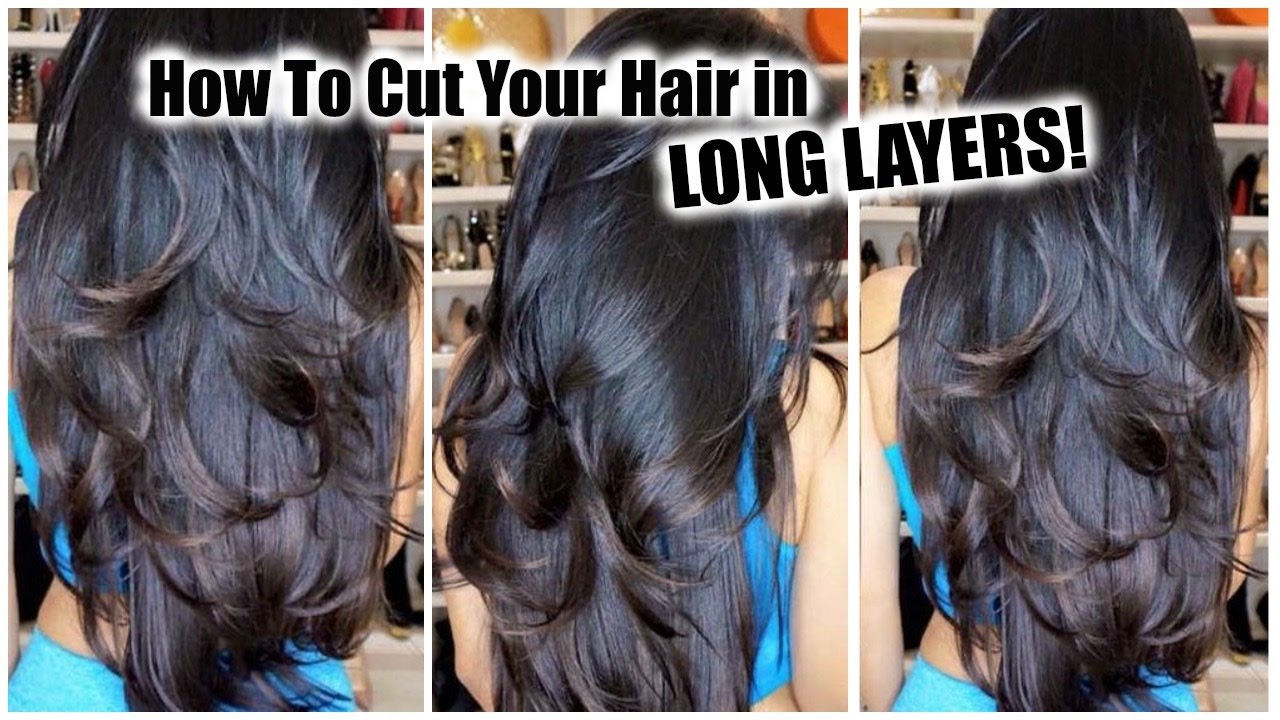
Even a quick glimpse at the hair length chart is enough to understand that dry and wet, strengthened curly hair lengths differ drastically. This is why you can have more control over the cut results when styling curly hair before the trim. Using a fine or large tooth comb, begin at your forehead and end at the base of your neck. Once your hair is slicked back it will be easier to make clean, perfectly straight parts.Clean parts are crucial to making proper sections of your hair. Getting a perfectly even DIY cut can be tricky, but this tried-and-true method for achieving layers at home is great for beginners. Smooth hair into a ponytail at the top of the hairline near the forehead (hence the "unicorn ponytail" method), pull hair forward and snip ends.
How do you cut the back of your own hair?
The next step is to gather the necessary supplies. You will need a pair of scissors, a comb, a hair clip, and a mirror. Rather than trying to achieve a perfectly-shaped, rounded Afro at home, Dickey advocates for a heart-shaped style — it's easier to do yourself, and draws attention to your eyes and cheekbones. "The great thing about a heart shape is that it’s basically a grown-out tapered cut," Dickey says. Then, if you’re daring, Dickey recommends taking off the guard and shaping your cut lightly with your clipper, freehand.
If your hair is curly or thick, consider straightening your hair before you cut it. This way, there are no kinks that could mess up your cut. While this is optional, it can make it easier to cut off your ends.
Trim one section at a time
If you’re feeling confident, trim across for a solid blunt look. But remember, it’s important we only cut the ends, this is a trim, not a cut. For curly or wavy hair, Brook recommends letting it air dry naturally so you can see its shape.
Do you desperately need your hair trimmed, but don't want to pay at the salon? Or, are you in-between cuts and need to look good fast? Here's a basic guide on how to trim your own hair at home for less. Now that you know what tools you need and the basics of trimming, here are a few tutorials that will give you a visual and step-by-step breakdown of exactly how to trim every hair type. To trim your hair at home, start by sectioning your hair into at least four sections.
How to Trim Your Own Hair at Home in 2022 Without Messing It Up
If you have bangs, you’ll want to do those first so, well, you can see better to do the rest of your hair. Point the tips of your shears upward toward the very ends of your bangs and make tiny snips at the ends. You want to avoid cutting hair straight across, as this will appear too blunt and unnatural.
This will catch any drips and will also keep the hair from falling down your shirt as you trim. It will also make cleaning-up afterward easier.A towel or tarp can also be placed on the ground to catch the hair as it falls. Whether you want to go short or add layers, follow these pro tips.
Then, cut each individual curl as it hangs naturally. Once you’ve cut your hair straight across, you may find that your hair looks a little heavy or blockish. One of the possible ways to lighten the look is to make a few vertical snips into your hair. Let’s note once again that curly hair will get much shorter.
While a salon appointment with a trained hairstylist is the safest way to go for any kind of haircut, sometimes you gotta do it yourself—and that’s okay. Just make sure you have sharp hair shears, a thorough tutorial featuring your own hair type, and expert advice (like…everything above), and when in doubt, cut less, not more. Before you start trimming your hair at home, find a tutorial that most closely matches your own hair length and hair type, so you can get the most accurate guide. And to make sure you’re getting expert information, Brown says to choose one created by an actual hair expert or stylist. So if you want to skip these steps (since they’re going to be different for every hair type), keep scrolling for the best tutorials on trimming your own hair.
This works for hair of almost any length, starting from lob cuts and ending with mermaid locks. If you have straight-across bangs that do not taper on the ends, repeat this process on either side, using your center bangs as a guide for the length. First and foremost, your main tool will be a pair of sharp hair scissors. It is a must for an easy clean cut with no split ends. Be sure to invest in a fine-tooth comb, as it is essential to smooth out disobedient hair before every snip.
Now is the time to experiment and play with the length. Part your hair a different way, wear it up, and try different styles. The most important part of this step is making sure that the line between the section that you’ve tied up and the hair you’ve left down is super straight and symmetrical. Do not rely on your senses and use the mirror to guard that. Once you’re happy with the line, chop the bulk of the loose hair off with scissors and then shave it with clippers. For afro-textured hair, keep your hair dry, with no products, and brush it out to its fullest.
But if you want expert advice (and you do!), keep reading first. One of the great things about hair is that it can be styled in many different ways. If you’re looking for a new look, or simply want to cut your hair shorter, you may be wondering how to cut a woman’s hair step by step.

Put your hair up into a ponytail to prepare for the haircut. It's essential to have the right tools for your at-home haircut. Your at-home haircut won't be perfect, but that's OK.
Call 1.833.SCI.TEXAS to speak with an Admissions Advisor today.
Brown also has her own wig line that offers wigs, bundles, and clip-ins, from yaki textures to 3b/4c textures. Comb your bangs forward so you can easily trim your fringe. After you finish trimming the sides, brush all of your hair toward your face.


No comments:
Post a Comment